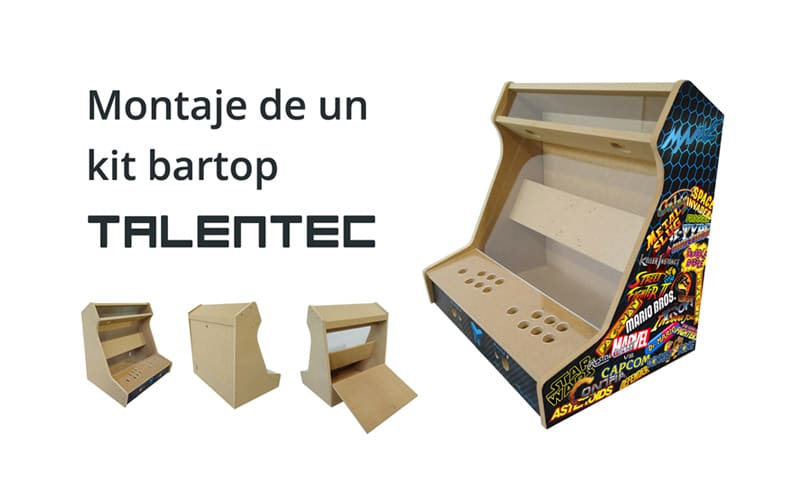
You have a new tutorial for the assembly of a Bartop TALENTEC Kit, commented step by step. This videotutorial will be useful for the 19” and 24” bartops, since the assembly methodology is the same.
The video begins with the unboxing of the kit and a description of the different parts that compose it: assembly manual. Bag of screws. Sides, with slots to introduce the acrylic glass of the screen and marquee. The back door, with the ventilation openings and the hole to place the lock. The monitor support, with the VESA 75 and VESA 100 holes made (including the M4 screws to attach the screen). The frontal panel, with the holes for the coin and player buttons for each player. The control panel with 6 holes (28mm or 30mm) for each player buttons and 1 holes for each player joystick. The speaker support, with two holes for 2” speakers. The piano hinge for the door. The upper part of the furniture bartop. The back rear, with a hole for the IEC C14 power connector. The base of the sect and the acrylic glass for the marquee, the control panel and the monitor.
After the unboxing, the assembly kit is shown, in the following order: From the base, the sides, the front panel, the lower back, the speaker support, the marquee acrylic glass, the upper part of the bartop, the monitor acrylic glass, the rear door, the stop of the door, the monitor support and the legs. To facilitate the assembly, the kit includes the side holes made.
Remind you that our kits are fully configurable and customizable:
– You can choose to be compatible with American type buttons (28mm holes), or with Japanese buttons, Sanwa type (30mm holes). Another configurable option on Bartop TALENTEC Kits is the choice of holes in front panel: you can choose between 2 holes of 28-30mm and 2 holes of 16mm, or 4 large holes of 28.30mm.
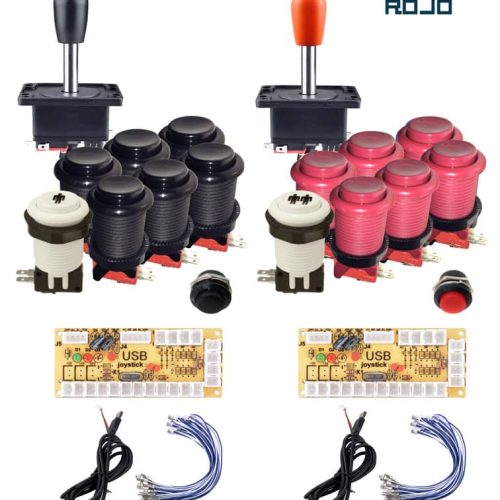
– As a personalization, you can download the templates for our kits, in psd format, and send us your custom design for printing the vinyls. You can also choose the type of controls that you like, with the combination of colors you prefer.
We leave you with the videotutorial:


