If nostalgia haunts you and you still dream of those wonderful 70s, 80s and 90s in which you loved to enjoy your arcade games non-stop, maybe it is time to install an arcade machine at home. Thus, you can relive those classics of the golden years, without having to put in small coins and with a custom-made bartop.
But before starting with the assembly of your arcade machine, make sure well what furniture you have to buy for the bartop of your dreams. It will depend on these that you later choose the vinyls, methacrylate, buttons, etc.
Assemble your bartop according to the furniture you prefer to play with
To assemble your bartop, first you will have to think about which piece of furniture you most want to have at home, a desktop one or one with a stand? The first one can look good in any corner, even in your living room on a table. And if you want the one with a stand, reserve a special place in your house to give the machine standing or sitting with a stool!
Here we show you the 2 types of bartops that we have at Talentec, so you can see the furniture you will need.
Desktop Bartop
This bartop kit is perfect whether you want to leave it as a desktop or if you want to add a stand and play standing up.
As we know that you will want to show off your little game, our bartop furniture is prepared so that two players can enjoy at the same time.
If you are thinking of getting one, we have 2 types of bartops according to the measurements of the furniture:
- For monitors up to 19 inches with 4: 3 or 5: 4 format.
- For monitors up to 24 inches with 16: 9 or 16:10 format.
Our arcade bartop cabinets are finished in 16mm wood and allow up to 30mm buttons. In addition, both include methacrylates for marquee, monitor and control panel.
Follow the instructions and assembling it will be a breeze!
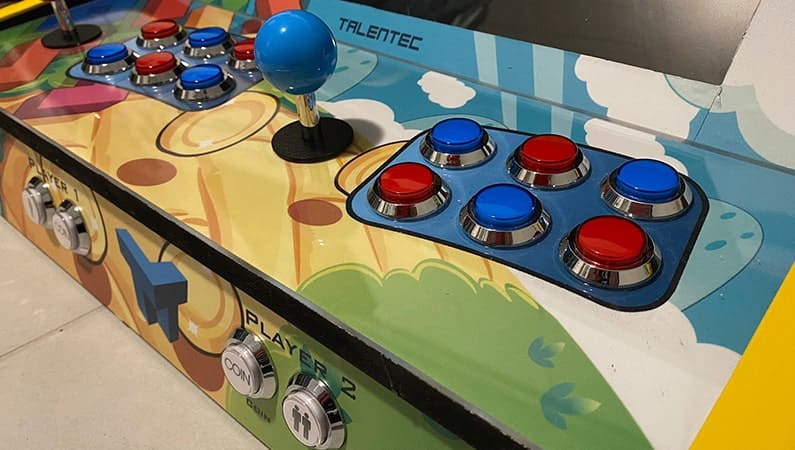
Bartop with stand
Our bartop stands are available in two sizes:
- For monitors up to 19 inches with 4: 3 or 5: 4 format.
- For monitors up to 24 inches with 16: 9 or 16:10 format.
In this Youtube video you can see how we install our bartop kit with a DIY tutorial where we show you the step by step.
Save time mounting the bartop with a quick mount kit
There are many bartops on the market and deciding on one in particular can be a difficult task. If you are a handyman, you will have no problem assembling your arcade machine from some instructions, but if you want to speed up the process, we present the Kit Bartop Next Stage 24 inches.
Kit Bartop Next Stage 24 inches
If you want to assemble an arcade machine more quickly, we recommend our Bartop Next Stage Kit. Why?
- You have it assembled in half the time than conventional ones
- You do not need moldings, since its finish is perfect
- You do not need to paint it because its color will match with everything
- The control panel is hinged, so you can more easily access the controls
- The legs are adjustable thanks to their thread
- Comes with a laser cut methacrylate
- Eccentric screws make mounting easy
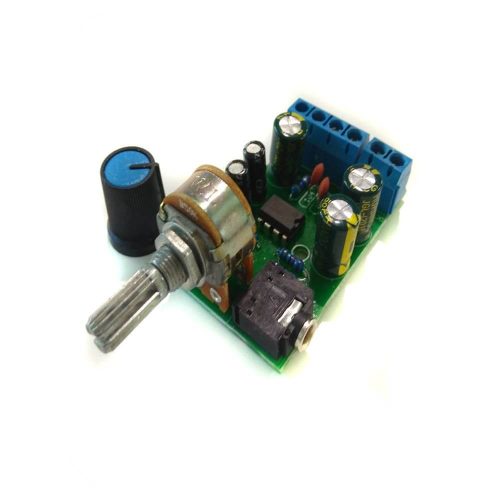
- 2 holes for 2 ”speakers are included
How to give the best finish to your furniture
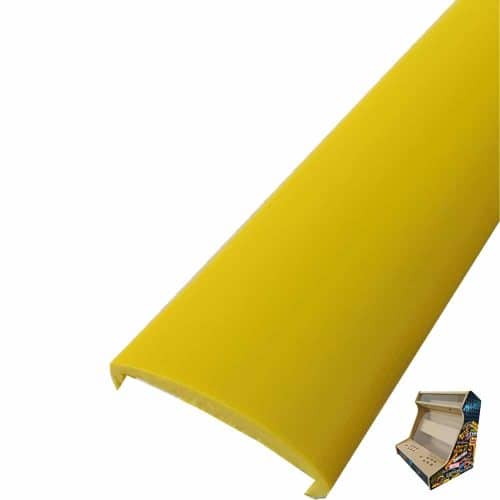
Once your bartop is assembled, you will surely want to beautify it while securing it to avoid damaging the furniture. For that there are u-molding or t-molding, very easy to apply.
At Talentec we have both for the upper part of your bartop and for your stand and we sell them by the meter.
Fix your u-molding or t-molding like a pro
The time has come to cover the extremities of your bartop to give it a better finish and that neither the furniture nor the vinyl is destroyed with the passage of time. To do this, if you want to stick your u-molding or t-molding in the best way and that it does not come off, we suggest you do the following:
- Measure each side to cut the exact strips for each part.
- Heat your glue gun and place the glue in those places where you want to hook the u-molding. In the longer parts, it is better to start in the middle to ensure a better grip.
- When you get to the curves, pay extra attention by pressing hard with your fingers.
A tip to give the u-molding or t-molding, if it is very hard, is to put it in the sun or leave it for a while with hot water to make it easier to mold.
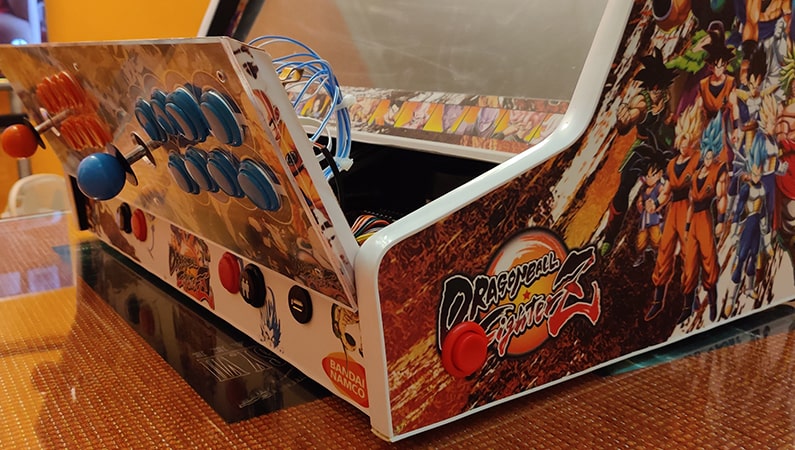
Give life to your bartop thanks to vinyls
Choosing the vinyls for your arcade machine will surely be one of the funniest moments of your assembly. However, you must bear in mind that, if you are going to install your bartop in a visible place such as the living room, try to design a graphic that goes according to the environment, so you will never tire of seeing it.
To get your vinyl you have two options:
- Design the graphics yourself: if you are good at Photoshop, download these free templates to create vinyls. You can find templates for both the bartop and the pedestals in two sizes: 19 inches and 24 inches.
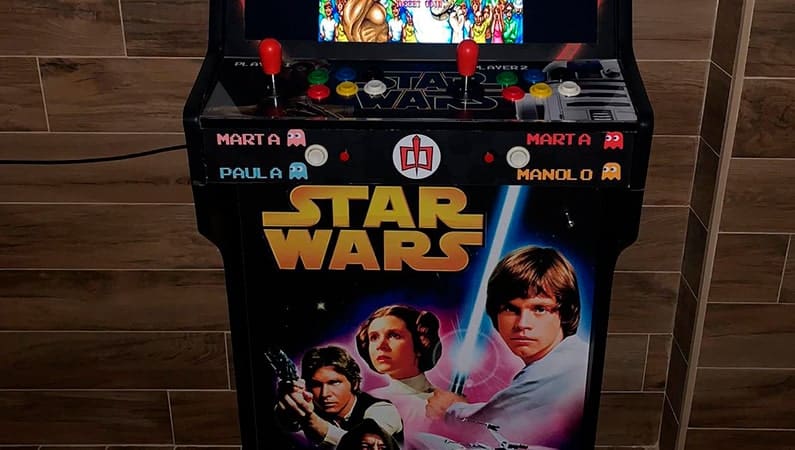
- Choose an already created design: on the Deviantart website you can access the library of images that we have uploaded with the images of our Talenters. Here you will find vinyl from Final Fantasy, Mario Bros, Dragon Ball and even Star Wars.
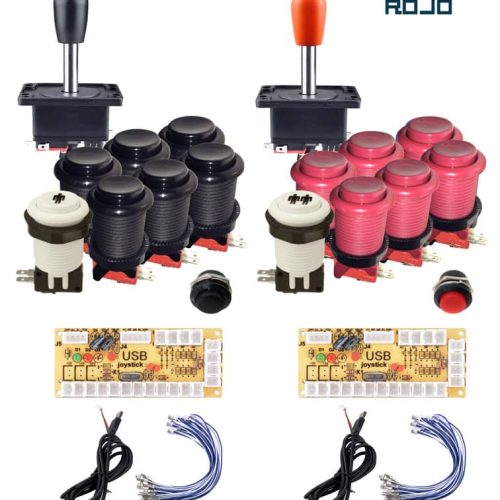
To give your design a more professional touch, you can make the colors of your vinyl match those of your buttons.
When is it better to stick the vinyls of your bartop
We often come across the same question “When is it better to glue bartop vinyls?” and the answer is at the beginning of everything, leaving the placement of the vinyl on the sides until the end of the assembly. In this way, we make sure that the screws on the sides are covered..
